Once again I find myself spending more time on pattern making than I should. But being my own boss, no one is yelling at me (but me!), so I'll pretend and assume it's time well spent.
I posted a little peacock on my
blog the other day, and with that peacock as an inspiration, I started making a new pattern. This time I decided to do it the old fashioned way; pen, pencil, scissors and tape (with a dash of computer to help out at the very end). I documented the process, so here you can see, step by step my peacock pattern in the making.
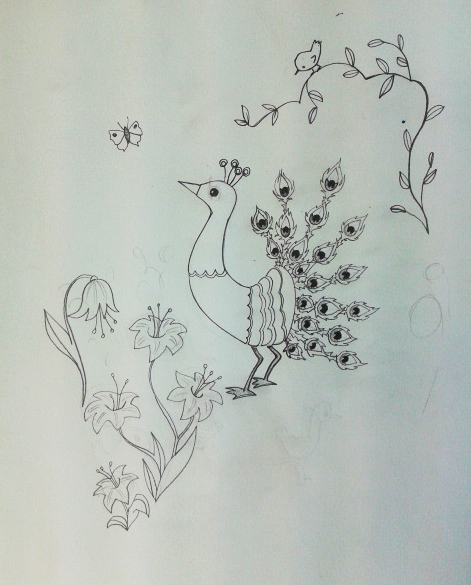 |
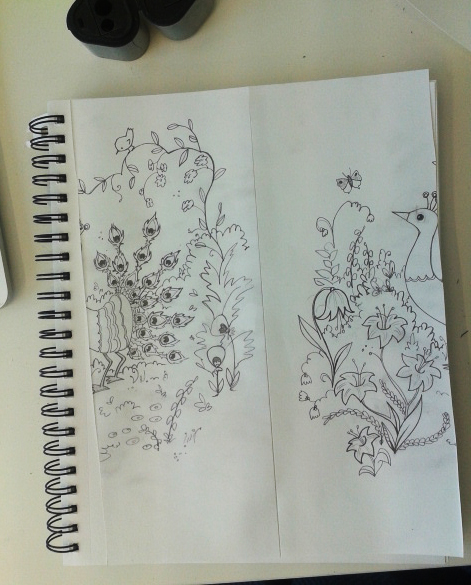
| First I started doodling, with nothing really in mind but what just came out of my head... |
 |
| ...then I doodled some more (making sure the drawing didn't touch the edges of the paper)... |
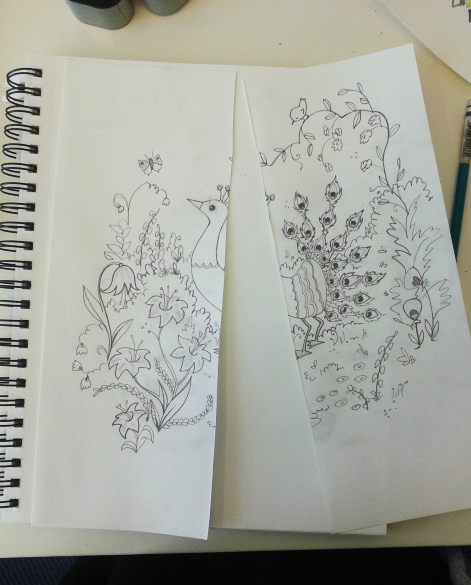 |
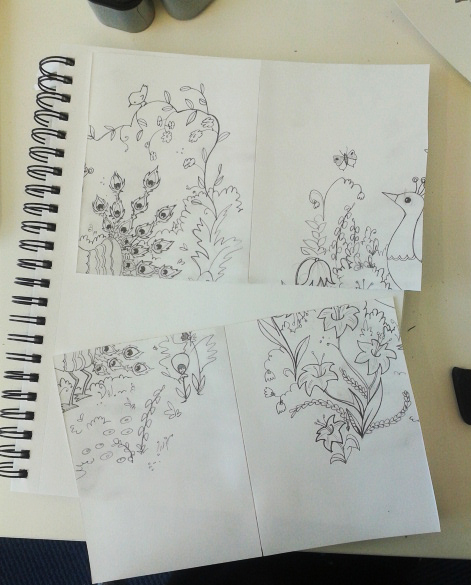
| ...then I cut my piece of paper in half! ("oh my she's crazy" you must be screaming)... |
 |
| ...I reversed the two halves and taped them together (I suggest being a little more precise with the cutting and taping than I was)... |
 |
| ...so then it looked like this... |
 |
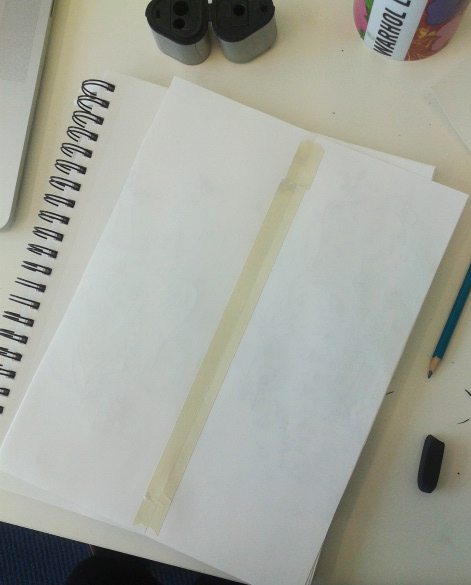
| ...then I cut it again (it's seriously nerve wracking cutting your drawing like that)... |
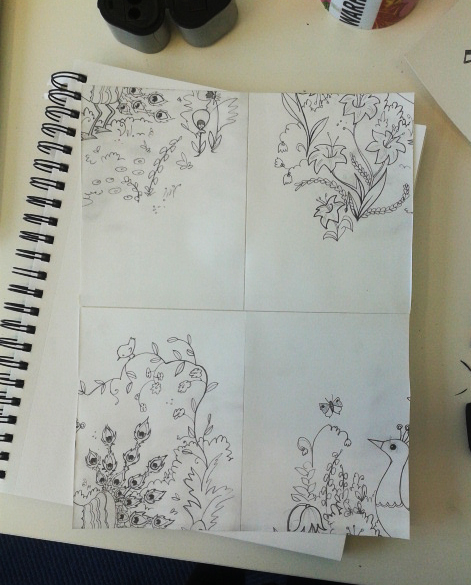 |
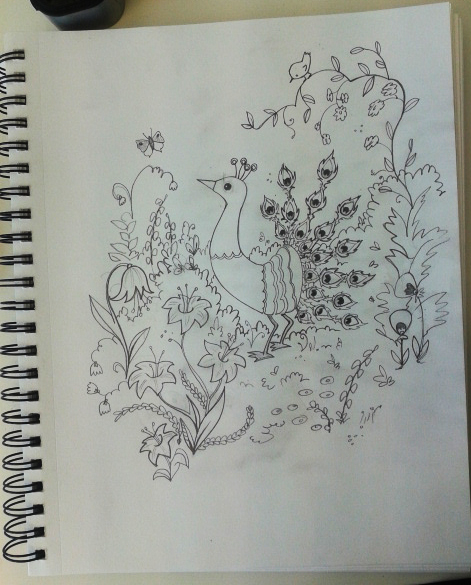
| ...and then I reversed the halves again and taped so it looked like that. So now I had a nice clean area in the middle to fill in (well, my standards of clean). |
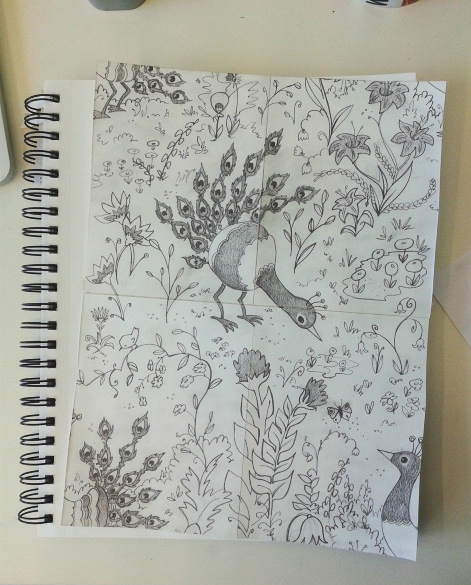 |
| Then I finished the illustration in the middle of the paper while talking to my friend in Sweden for about an hour or so... |
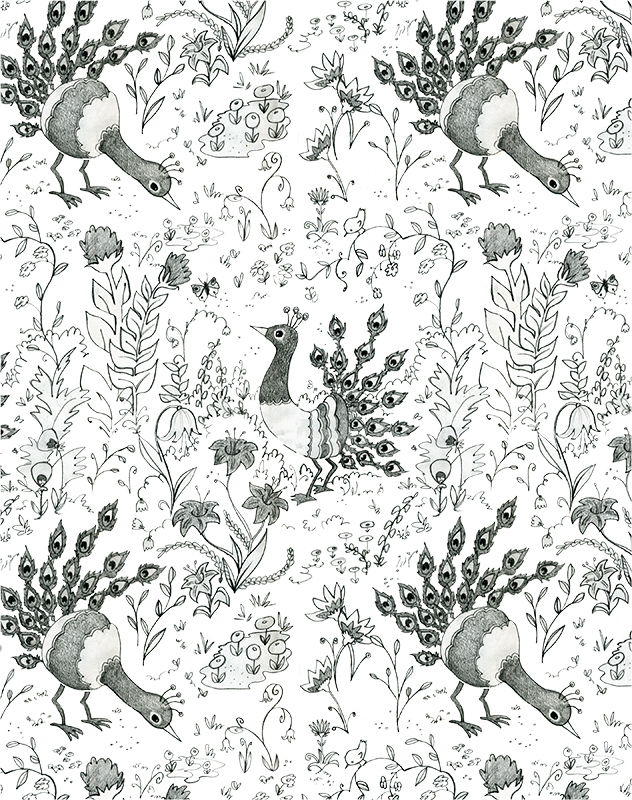 |
| ...then I scanned in that piece of paper and assembled it in Photoshop... |
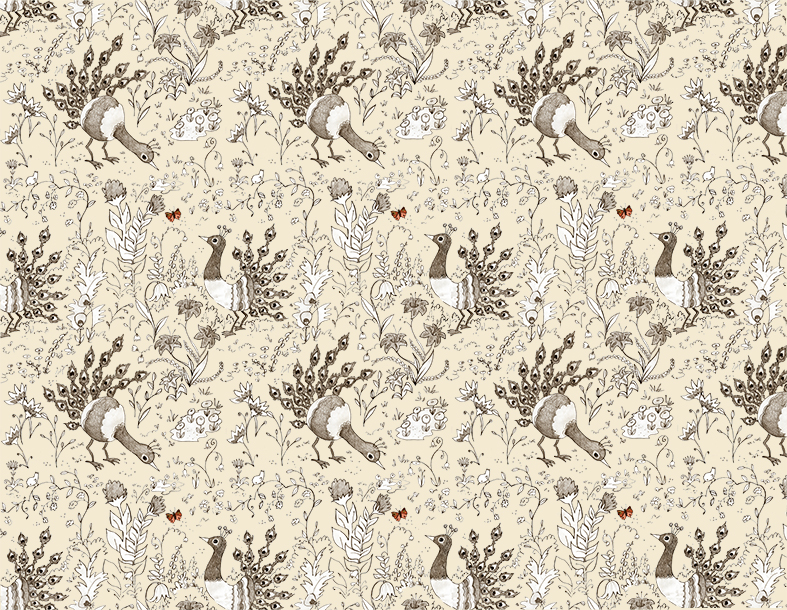 |
| ...and voila! This is how my pattern could look like... |
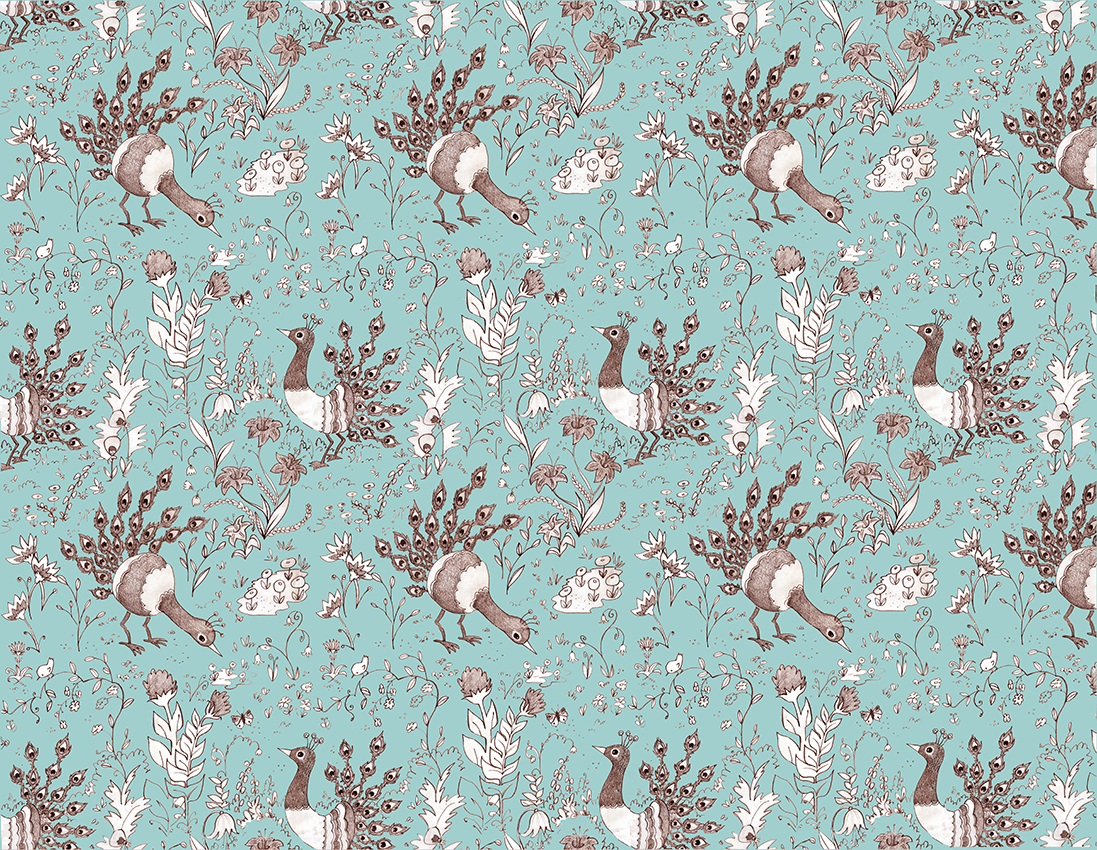 |
| ...or this, cause seriously, everything looks better in this shade of blue! |
I'll spend some more time painting this pattern and will share it with you as soon as it's done (if my boss lets me spend the time ;)

1 comment:
Váaahhhhhhhh! Ég er bara orðlaus! Mikið svakalega er þetta fallegt hjá þér :D
*Knús*
Stefa
Post a Comment